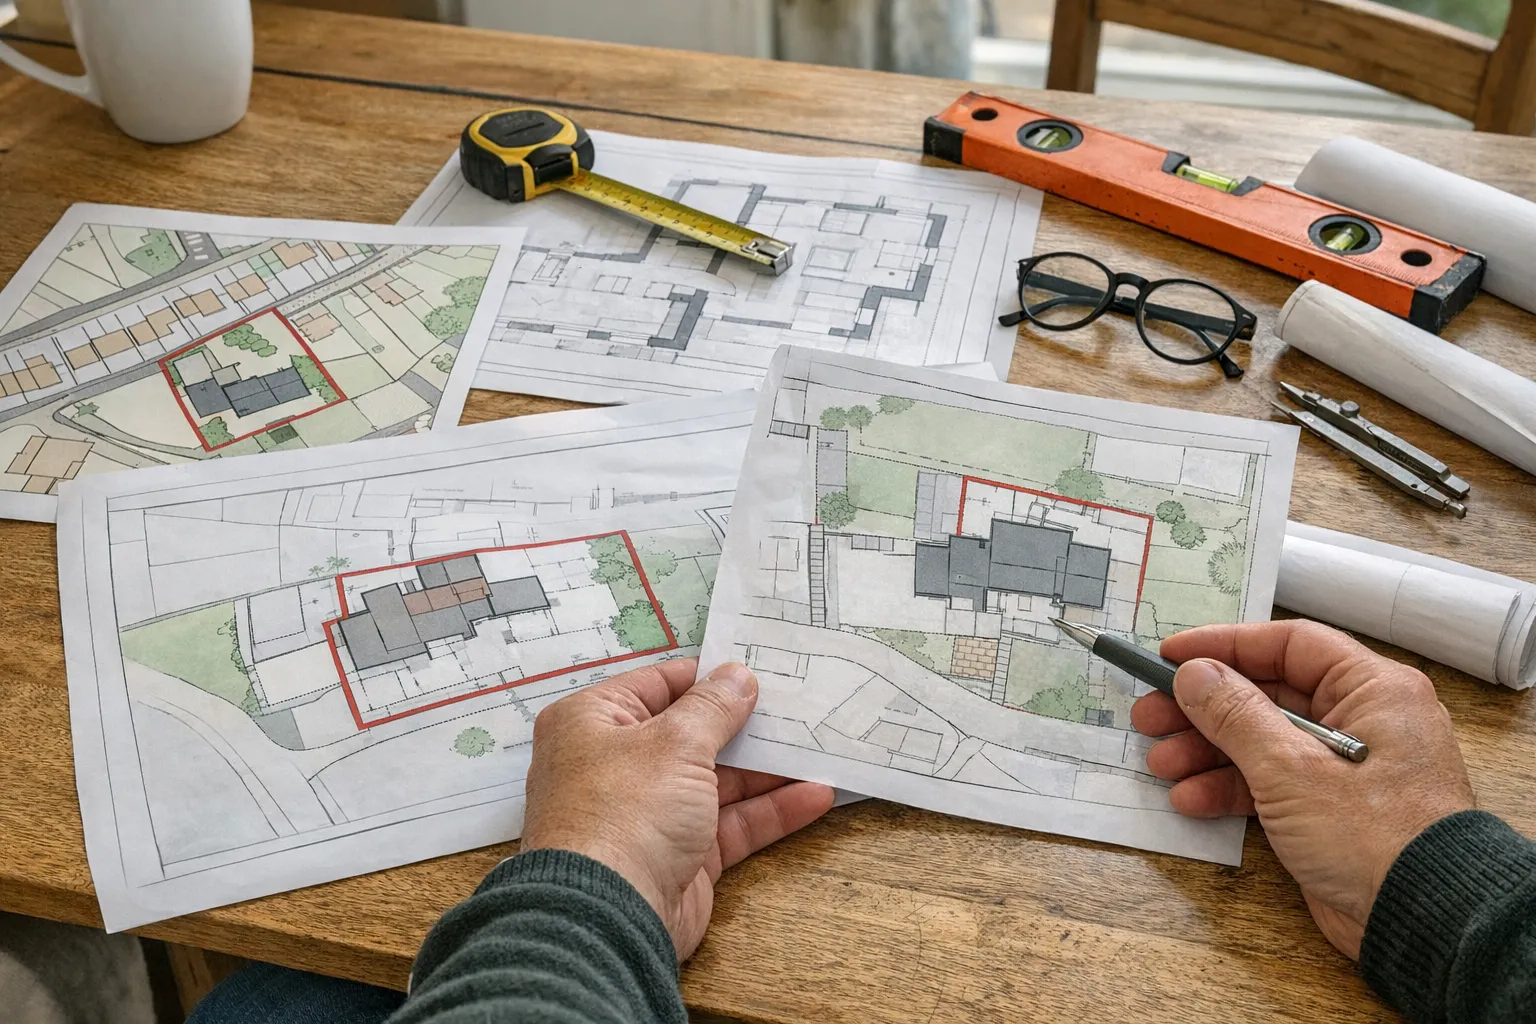
A rear extension often starts as a kitchen-table sketch.
The wall comes out here. The doors face the garden. The old patio becomes a bigger family space. Everyone can picture the finished room.
Then the planning checklist arrives, and the language changes. Site location plan. Block plan. Red line boundary. Scale bar. North point. Existing and proposed layout.
That is the point where a simple project can slow down.
The good news is that the map side of a rear extension is usually manageable if you know what each document is doing. Your council is not asking for maps because it wants paperwork for the sake of it. It needs to identify the land, understand the relationship to neighbouring properties, and check the proposal against the site.
If you are preparing a rear extension, kitchen extension, side-return extension, or wraparound extension, use this checklist before you apply.
Planning a rear or kitchen extension?
1. Start with the two-map rule
Most rear extension applications need two core planning maps:
- A site location plan, usually at 1:1250
- A block plan, usually at 1:500 or 1:200
The location plan answers a simple question: where is this property?
The block plan answers a different question: how does the proposed work sit within the plot?
They are not duplicates. A location plan shows the wider street context. A block plan shows the site layout in more detail, including boundaries, existing buildings, access, hardstanding, and the proposed extension footprint where required.
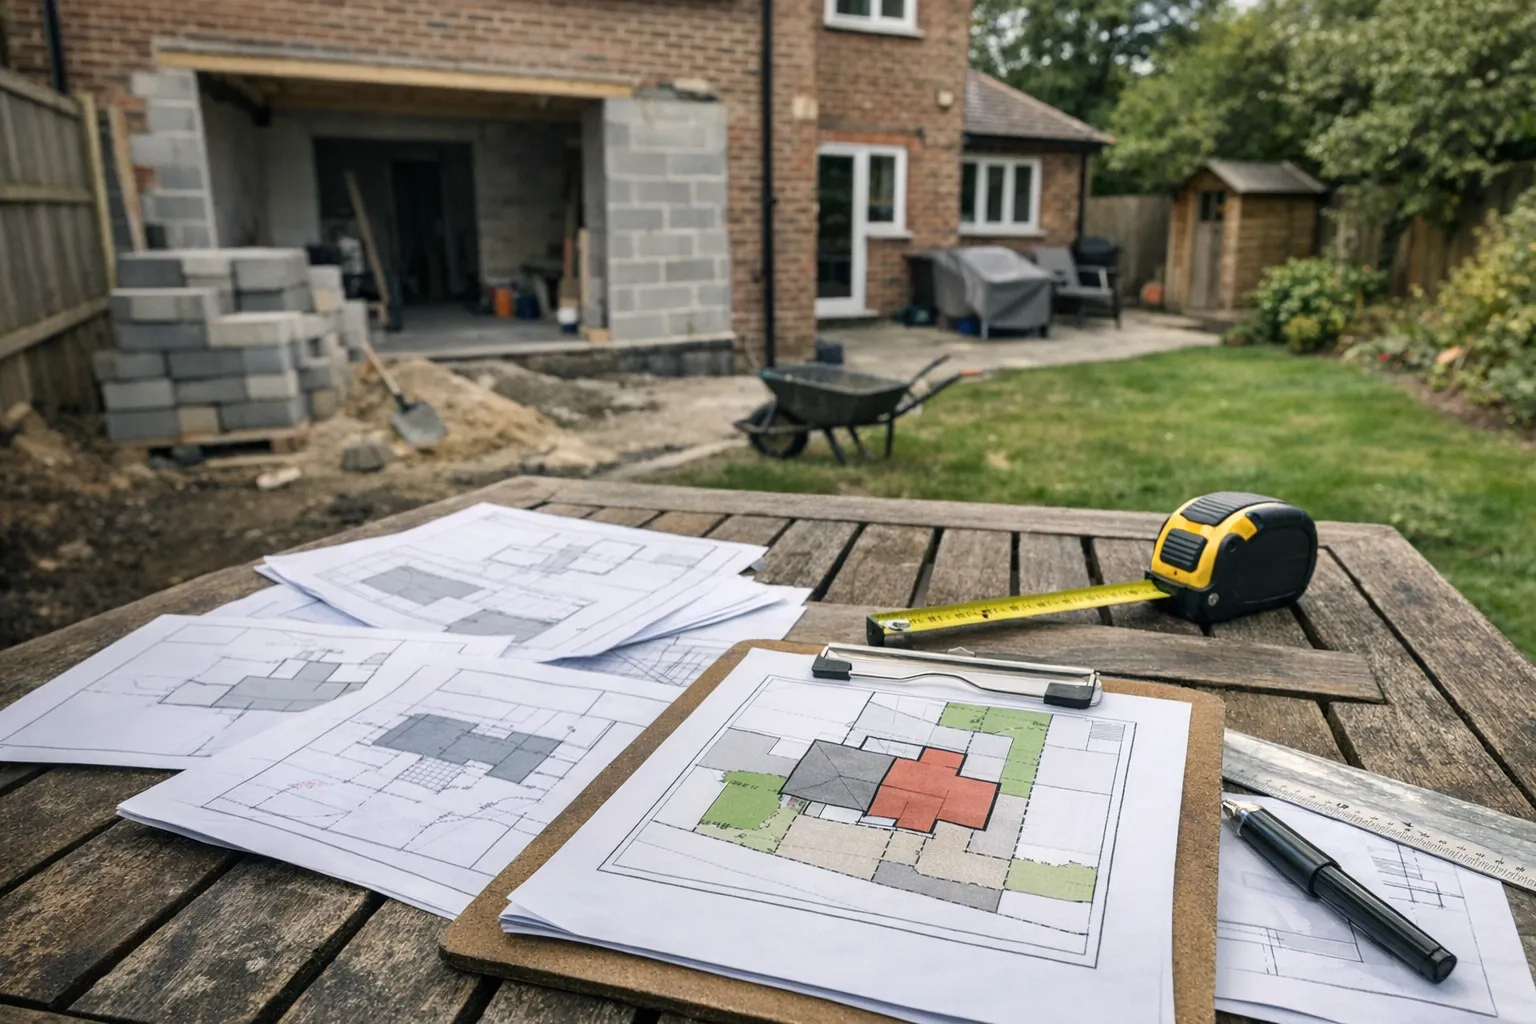
For a rear extension, the block plan is especially important because neighbours, boundaries, garden depth, and access often matter as much as the extension itself.
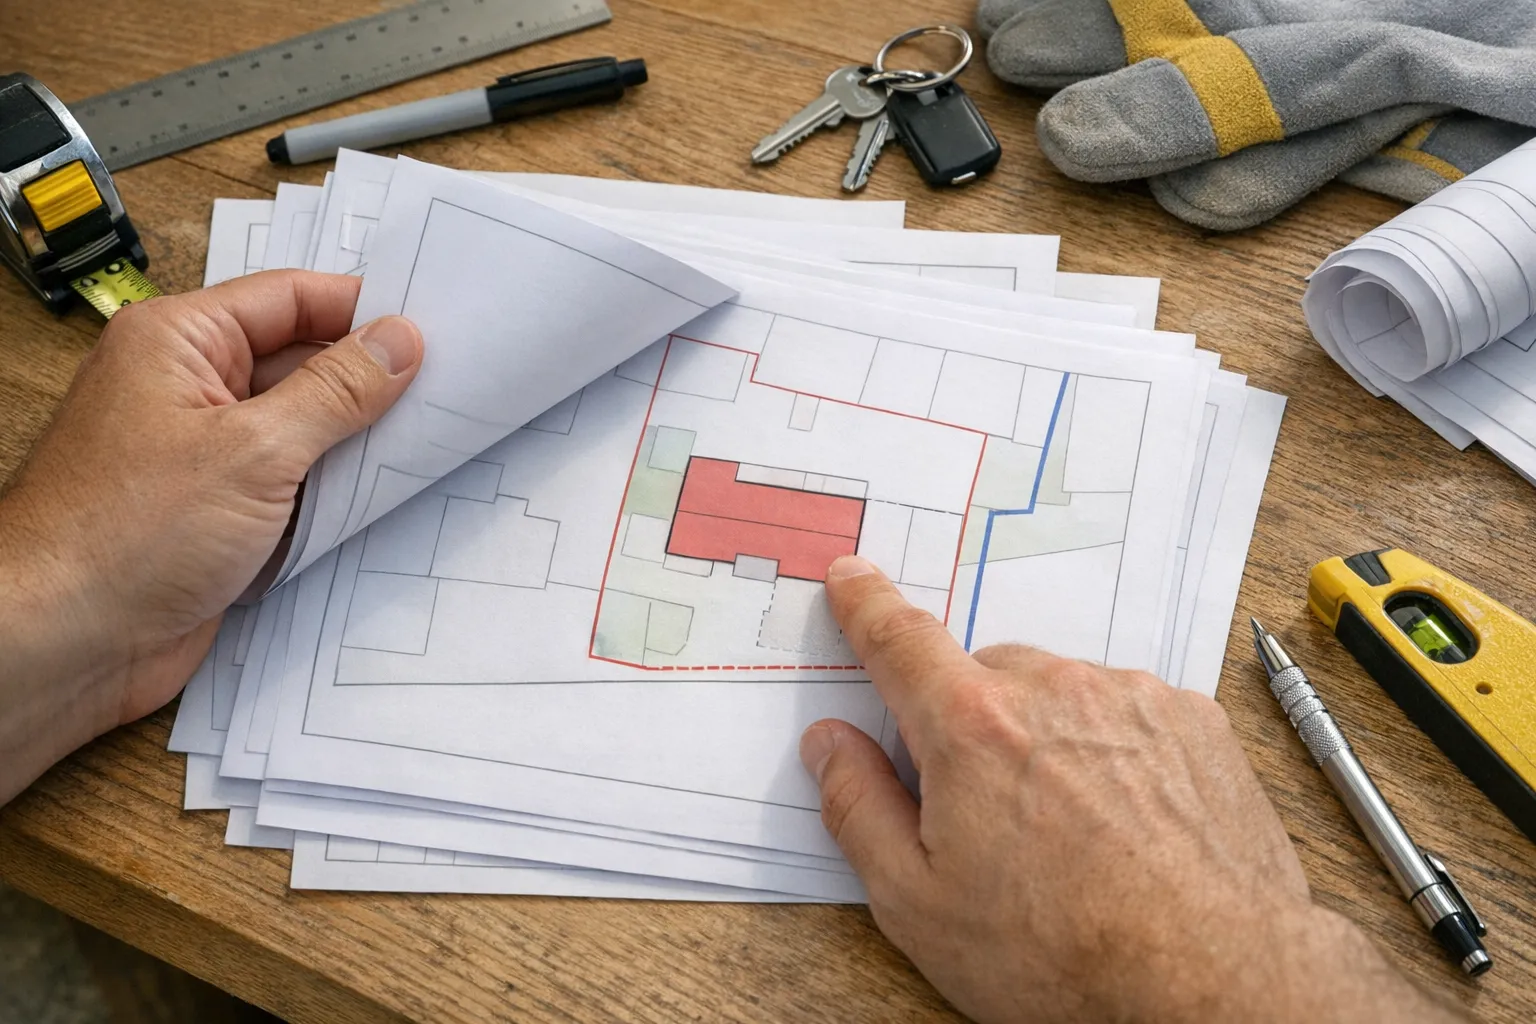
2. Draw the red line around the right land
The red line is one of the easiest things to get nearly right and still wrong.
For a normal householder extension, the red line should usually include the full planning unit. That means the house, garden, driveway, side access, and any land needed to carry out the development.
A common mistake is to draw the red line only around the extension footprint. That feels logical because the extension is the thing being built. But planning permission relates to land, not just the new wall.
For example, imagine a homeowner building a three-metre rear extension behind a terraced house. They mark a neat red rectangle around the new kitchen area. The council cannot properly assess the site because the rest of the plot is missing. The garden, access path, and relationship to adjoining land all matter.
The safer route is to show the whole site clearly and consistently.
If you own other nearby land that is not part of the application, that may need a blue line instead. Do not use blue as decoration. It has a specific purpose.
3. Include access to the public highway
Access is easy to forget on a rear extension because the work is happening at the back.
But the application still needs to show how the site connects to the public highway. If your house fronts directly onto a public road, this may be straightforward. If you have a long driveway, shared access lane, rear service road, or unusual plot, it needs more thought.
The red line should include land necessary for access where that access forms part of the application site. This is particularly important for detached houses, rural homes, corner plots, and properties set behind other buildings.
If the access crosses land you do not own, do not guess. That can affect ownership certificates and notices. The planning map can show the physical route, but ownership and application notices are separate legal matters.
4. Use the right scale for the right job
Rear extension maps are usually built around standard planning scales:
- 1:1250 for the site location plan
- 1:500 for the block plan
- 1:200 when more site detail is needed
The scale is not just a label. It affects whether the council, neighbours, and your designer can understand the proposal.
A 1:1250 map is good for context. It shows nearby roads and surrounding properties. It is not good for showing a small extension against a boundary.
A 1:500 block plan gives a closer view. It is better for showing the house, garden, proposed extension, access, and neighbouring relationship.
If you are unsure, use the planning map scale chooser before ordering. It is much quicker than trying to decode scale requirements from scratch.
5. Make the block plan do real work.
5. Make the block plan do real work
A weak block plan is often just a background map with a boundary on it.
A useful extension block plan shows the site as a planning officer needs to understand it. Depending on the proposal, that may include:
- The existing house and any outbuildings
- The proposed rear extension footprint
- Boundaries and boundary treatments
- Existing and proposed access
- Driveways, patios, and hardstanding
- Trees or features affected by the work
- The north point and scale
The block plan should make the proposal easier to understand, not force the officer to guess.
That does not mean adding every garden chair and plant pot. Keep it relevant. The aim is to show the site layout and the development relationship clearly.
6. Keep maps and architectural drawings consistent
This is where extension projects often become messy.
You may have one drawing from a designer, one map from a planning-map supplier, and a sketch you made before the project changed. If the boundary, extension footprint, or access position differs between documents, the application can look unreliable.
Before submitting, compare:
- The red line on the location plan
- The red line or site boundary on the block plan
- The extension footprint on the proposed site plan
- The elevations and floor plans
They do not all show the same level of detail, but they should tell the same story.
If your architect or technician asks for editable base mapping, consider CAD planning maps early. Buying a PDF first and CAD later can mean paying for the same mapped base twice.
7. Check the simple validation details
Many planning-map delays are not dramatic. They are small missing details.
Check that your maps show:
- A clear scale
- A north point
- The correct site address
- A visible red line boundary
- A suitable Ordnance Survey base
- The licence information where required
- A map that is recent enough for council validation
Also avoid screenshots, photocopies, and Land Registry title plans as substitutes for planning maps. They may be useful for other purposes, but they are not the same as a council-ready Ordnance Survey planning map.
A simple rear extension map pack.
A simple rear extension map pack
For most straightforward rear extensions, the practical order is:
- Buy a 1:1250 location plan
- Buy a 1:500 block plan
- Mark the full application site clearly
- Keep the boundary consistent across both maps
- Add architectural drawings for the design itself
That gives the council the wider context and the detailed site relationship.
It also helps you avoid the most frustrating kind of delay: the one where the proposal itself might be fine, but the application cannot move forward because the map pack is incomplete.
Planning maps are not the exciting part of an extension. Nobody pins a scale bar to a mood board.
But they are the quiet documents that help your project enter the planning system cleanly. Get them right at the start, and the rest of the submission has a much better chance of being judged on the design, not held up by avoidable paperwork.