
Buying two maps is not the same as having a coordinated map pack. Before uploading a planning application, spend a few minutes checking that the files describe the same site, use the intended scale and contain the information the authority needs.
This is especially important when the location plan and detailed block plan were ordered from different suppliers or prepared at different times. If you need a coordinated starting point, use the OS planning maps workflow so the outputs are based on the same address and boundary.
1. Confirm the address and site
Open the finished PDFs, not just the checkout preview. Check the property address, nearby road names and recognisable buildings or landmarks. Make sure the map is centred on the correct property and that the application site is not a neighbouring plot with a similar address.
For a rural property, confirm that the field, building group and access route are the ones described in the application.
2. Check the red application boundary
The red line should identify all land included in the application. Depending on the proposal, this may include the house, garden, driveway, access, parking, turning space, visibility splay or other land required to carry out the development.
Do not draw the line only around the new extension or structure if the application relates to a wider planning unit. Do not assume the title boundary automatically defines the planning application site.
3. Check any blue ownership boundary
If other nearby or adjoining land owned or controlled by the applicant needs to be shown, confirm that it is clearly marked in blue and remains outside the red application boundary.
If no blue line is relevant, do not add one simply because you own more land elsewhere. The ownership information and current authority guidance should control the decision.
4. Check the map scale and paper size
The usual starting points are:
- 1:1250 for a wider urban or suburban location plan.
- 1:2500 for some larger or rural location plans.
- 1:500 for a detailed block or site plan.
- 1:200 where a smaller or more complex site needs closer detail.
The right scale is the one that keeps the site legible and provides the required context. Confirm that the stated scale, paper size and actual PDF page size agree.
5. Check the required map furniture
Look for the elements a validation officer expects to find quickly:
- North point.
- Graphic scale bar.
- Stated metric scale.
- Paper size or drawing size.
- Sufficient surrounding roads and buildings.
- OS copyright and licence information.
If a map is missing one of these, do not try to repair it with a screenshot or text overlay. Ask for a corrected file or use the supplier's amendment route.
6. Compare every document
Place the location plan, block plan and application form side by side. Check that:
- The red line has the same extent.
- Access is treated consistently.
- The site address is the same.
- Proposed work is inside the correct site.
- Any blue land is described consistently.
- The drawing dates and revisions make sense.
The detailed plan may show more information, but it should not quietly change the application site.
7. Upload the original file
Use the original PDF supplied for planning use. Do not upload a phone photograph, cropped screenshot or re-saved image unless the authority specifically asks for that format.
If the plan is printed, select Actual Size or 100% and verify the scale bar with a ruler. A correctly prepared file can be made inaccurate by the final print setting.
Final decision
If the seven checks pass, keep a copy of the submitted files with the application reference. If the council later raises a mapping query, you can identify exactly which version was used.
For a new order, start with a site location plan, add the block plan when detailed site information is required, and use the planning map scale chooser if the coverage is unusual.
The purpose of the final check is not to turn a simple application into a surveying exercise. It is to catch the small inconsistencies that create avoidable validation delays.
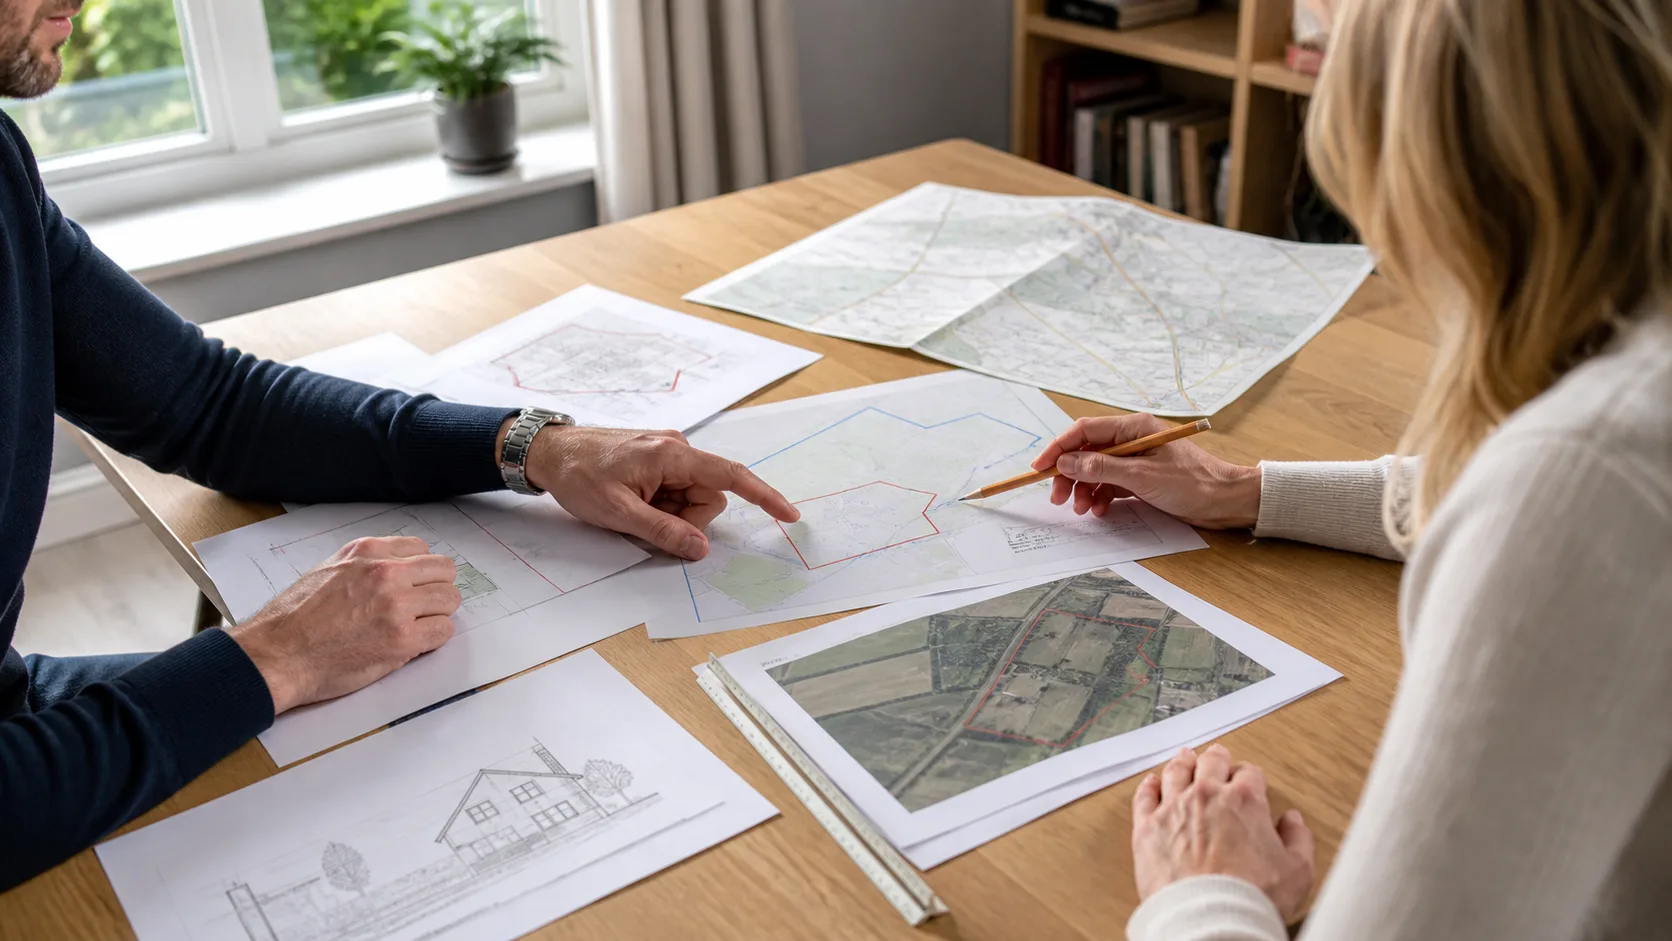
Reviewing the map pack alongside the drawings helps reveal inconsistencies before upload.
Read the pack as a validation officer
Set aside the history of the project and review the documents in the order a new reader might see them. Can you identify the property from the location plan? Can you tell what land is included? Does the detailed plan explain the proposal's relationship with the house, access and boundaries? Do the architectural drawings use the same orientation and footprint?
This perspective is useful because project owners often fill gaps from memory. A person seeing the application for the first time only has the submitted pages. If a boundary is ambiguous or an access route disappears between sheets, the pack should be improved rather than relying on an explanation that is not on the page.
Keep a submission record
Create a small folder containing the final PDFs, the application form, the date submitted, the portal reference and any later replacement files. Use clear names such as 01-location-plan.pdf and 02-block-plan.pdf. Do not overwrite the original version if the council asks for an amendment; preserve the history and record what changed.
For professional teams, add a revision code to the drawing issue and use the same code in the transmittal email. This is simple document control, but it prevents an older map being attached to a newer set of drawings.
If the authority asks a question
Reply to the specific issue and check whether the requested change affects other documents. A revised red line may require a revised form, ownership notice or block plan. A changed footprint may affect elevations, drainage and access information. Treat the map as part of the coordinated pack, not an isolated attachment.
Add a one-page drawing register
For anything beyond a very small application, list the final documents before uploading them. The register can be a simple table rather than a formal construction document.
| Reference | Title | Revision | Date | Purpose |
|---|---|---|---|---|
| PL-001 | Site location plan | P01 | 26 Aug 2026 | Identifies the application site |
| PL-002 | Existing block plan | P01 | 26 Aug 2026 | Records current site context |
| PL-003 | Proposed site plan | P02 | 26 Aug 2026 | Shows the proposed layout |
The exact numbering is unimportant. The value comes from making omissions, duplicate titles and stale revisions visible before submission. Use the same titles in the PDF metadata, drawing title blocks and portal upload labels where possible.
Check against both national and local requirements
The Planning Portal’s “what to submit” guidance explains the common national documents and also warns that mandatory local documents vary with the authority and application type. Do not treat a generic online checklist as the final word for a particular council.
Download or save the authority’s current validation list on the day of review. Record the page date if one is shown. Then mark every relevant requirement as included, not applicable, or awaiting confirmation. “Not applicable” should be a considered decision, especially for trees, heritage, drainage, highways and ecology.
Test the pack as a story
Read the documents in this order: location, existing site, proposed site, floor plans, elevations, then supporting reports. Each sheet should answer the next natural question.
- Where is the land?
- What exists now?
- What changes?
- How large and how close is it?
- What effects need assessment?
If a report mentions a parking bay, bin store, tree or access that cannot be located on any plan, add or correct the appropriate reference. If two sheets show different red lines, stop and agree the site before uploading either.
Do a genuine final-file inspection
Open every exported PDF outside the drawing software. Confirm that layers have not disappeared, fonts render correctly, pages are not rotated, scale bars remain visible and sensitive annotations have not leaked from working layers. Check at normal page size as well as zoomed in.
The Planning Portal’s plan guidance stresses that drawings must meet quality standards to be valid. The practical standard is simple: the authority must be able to identify, read and compare the submitted information without reverse-engineering the file.
Technical Vector PDF Sanitization and Layer Flattening
When exporting plans from architectural CAD software (AutoCAD, Vectorworks, Revit, or MicroStation), technicians often overlook hidden PDF metadata and unflattened vector layers:
1. Stripping Hidden and "Frozen" CAD Layers
In CAD software, drafting layers are frequently set to "Frozen" or "Defpoints" rather than deleted. When exported to an interactive vector PDF:
- Some web browsers and council PDF indexing viewers (like Idox Public Access) do not respect layer visibility flags, rendering internal notes, cost estimates, structural engineer draft comments, or superseded boundary proposals directly onto the public web view.
- Always export using a "Flattened Vector" profile (such as PDF/X-1a or optimized PDF/A) or print to PDF using a clean plot style table (
monochrome.ctb) to ensure only approved submission linework is embedded.
2. Digital Vector Snapping vs Visual Overlays
Ensure that your digital red-line polygon snaps to actual topographic geometry rather than floating above it. If an officer uses digital measurement callipers in Adobe Acrobat, a cleanly snapped polyline allows the software to lock to the exact boundary node, confirming site area calculations without rounding discrepancies.
Cross-Referencing Land Registry Title Deeds (Section 60 LRA 2002)
Before final upload, cross-examine your proposed red line against your official HM Land Registry Title Plan:
- The General Boundaries Rule: Under Section 60 of the Land Registration Act 2002, title plans indicate "general boundaries" rather than the exact mathematical line of the legal boundary. The red line on your planning map should reflect physical on-the-ground curtilage (fences, walls, kerbs) where your planning unit operates.
- Spotting Ownership Discrepancies: If your physical garden fence has crept 0.5 metres into an adjacent council verge, or an ancient hedge sits outside your registered freehold title:
- If you include that land within your red line, you cannot legally sign Certificate A. You must sign Certificate B and serve formal notice on the adjoining freeholder.
- If you sign Certificate A while knowing the fence encloses unregistered or third-party land, any subsequent planning approval is vulnerable to third-party judicial review and revocation under Section 97 of the Town and Country Planning Act 1990.
Certificate B Notice Audit and Proof of Service
If your planning map pack includes third-party land (such as a shared private driveway, a tenanted access lane, or structural footings encroaching into neighbour subsoil under the Party Wall Act):
- Verify the Owner Identity: Check Land Registry title registers (costs £3 per title on GOV.UK) to verify the exact legal name and correspondence address of the freeholder.
- Serve Statutory Notice No. 1: Complete and serve formal Notice Under Article 13 of the DMPO 2015 21 days before lodging the application on the Planning Portal.
- Retain Proof of Postage: Obtain a free Certificate of Posting from the Post Office (or send via Royal Mail Signed For). If an aggrieved neighbour claims during statutory public consultation that they were never notified, presenting your Certificate of Posting prevents the council from voiding your validation.
Finally, hash or otherwise lock the issued set in your document system if you work professionally. A homeowner can achieve the same outcome by copying the final files into a dated, read-only submission folder. Both approaches protect against accidentally uploading an earlier revision.
For the final sign-off, write the application reference on the checklist and have one person who did not prepare the plans repeat the red-line, address and revision checks. Fresh eyes are unusually effective at spotting mirrored sites, stale filenames and missing pages.